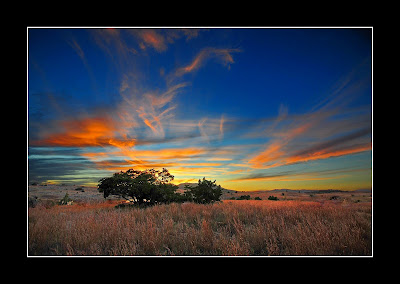
Q was nice enough to run my photo through Nikon NX2 and Photoshop CS5 and make a few lighting adjustments and add the frames. I have to admit it does look better. I even like the black and white version!
I've said this before and I am saying it again, I really need to spend a couple of months just sitting at my computer learning the photo programs.
Nice job Q!


Yes, Q is " The Master Editor of Photos "
ReplyDeleteThis was good work by the Shooter and Editor. Nice going!
This comment has been removed by the author.
ReplyDeleteIf you wonder what I did to this photo!
ReplyDeleteIt's very easy to do on the NX2. I use the step below on most of my photos.
1. Clean up the photo by using Auto Retouch Brush. Adjust the brush size depends on the size of the defects. On this photo, I clone out the road, and the wall.
2. On the top screen, select Adjust, color, color booster, go to the right of your screen, then adjust the level.
3. Select the color control point on the top right of your screen, then move the control point around the picture by press hold the left mouse, then drag the white dot to the area you want to adjust. The top slide bar is the size of the area you want to adjust, and the brightness is on the slide bar B. You can duplicate the control point again by hold down shift key + D then drag to the second spot in the picture.
3. Sharping up the picture. Select Adjust, focus, unsharp mask, go the right of your screen to make the adjustment. Go easy on the intensity, normally I would NOT go above 25%, then adjust the Radius to 15%.
Also, you can go to Nikon website to view some of the video related to NX2, or call me, I will walk you through the process.
I think I've seen this tree somewhere before... Nice post processing on an already eye catching photo! Also good commentary on your techinque.
ReplyDeleteThe B&W version really brings out the texture in the clouds.