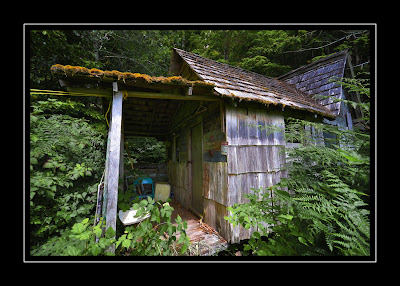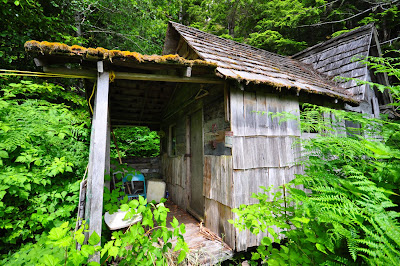

This is my first attempt to use the HDR feature in Photoshop CS4... (Top picture HDR bottom picture as shot at 0.0 ev)
This afternoon I took a number of "Bracketed" pictures using the bracketing feature on the Nikon which takes one picture at 0.0 ev, the next picture at +2.0 ev and the last picture at - 2.0 ev or other settings if you chose.
Then this evening using Photoshop CS4 I used the "Merge to HDR" feature to create a "High Dynamic Range" picture. (in photoshop under "File" select "Automate" then select "Merge to HDR" and follow the prompts to select your bracketed pictures)
I also figured out that to save the above picture as a .jpeg in CS4 you must first convert it to 8 bits. (In photoshop under "Image" select "Mode" and chose "8bits/channel")
And lastly after going on line I figured out how to get CS4 to zoom in and out with the little wheel on the mouse. (in photoshop under "Edit" select "Preferences" then check the little box beside "Zoom with scroll wheel")
End of Photoshop CS4 lesson 1

This old cabin is just dripping with character and you did it justice with your HDR feature.
ReplyDeleteInformative CS4 lesson. You certainly put some time and effort into it. Way to go on this new venture in processing!
Thanks for sharing on the lesson. I like the composition this photo, and you have a right choice to apply the HDR on this particular scenery.
ReplyDeleteAnd the lessons begin! Thank you for letting us know how that works. I think anyway, now I have something else to play with and try to do. LOL!
ReplyDeleteThis photo turned out really great! Nice Job!